
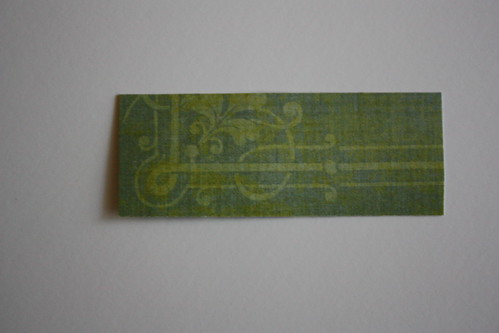
Today I thought I would share a simple "how to" on the tickets I made for my Halloween projects. They are so easy to make and could be used on any project just change the patterned paper and embellishments and you have a super cute and simple embellishment perfectly matched to your project. For these tickets I used the Hocus Pocus Paper and Press Ons from the Hocus Pocus line by Pink Paislee.

Step 1: Cut a piece of patterned paper or cardstock into a rectangle. Mine is about 2 1/4 x 1 inch.
Step 2: Use a small circle punch on each corner making sure to only place the pp partially into the circle punch. Make it easy by turning your punch upside down to see where you are punching!
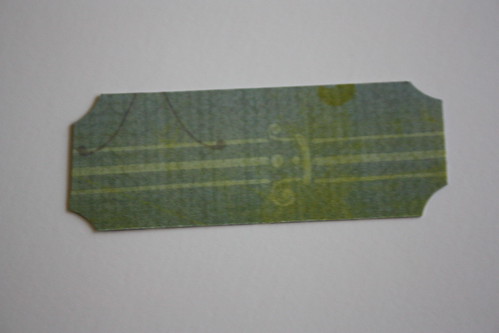
Step 3: Use a standard size hole punch to make the "notches" on either side. Place pp about half way inside punch.
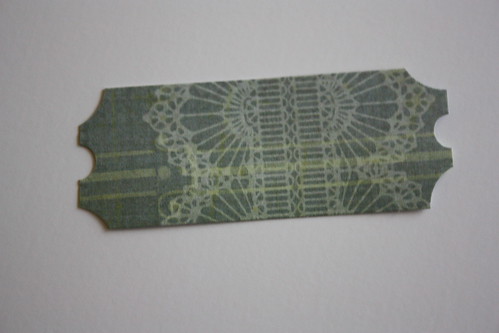
Step 4: Embellish as desired. I drew a black line inside the ticket to make the rectangle, added a few rub-ons from the Hocus Pocus Press ons and then used some distress ink around the outside.
There you go! Super cute and easy to make tickets! And just for fun I'm having a sale until Friday! Save 15% off EVERYTHING at Mollys Scrapbook Supply. Use coupon code " JUSTFORFUN15 " at checkout to save 15%
Have a great day! Pin It
This would be really cute for Christmas gift tags on step 3 I would punch the hole so it's intact so I could put a ribbon through it to connect it to the present. THANKS FOR THE AWESOME IDEA!!!
ReplyDelete